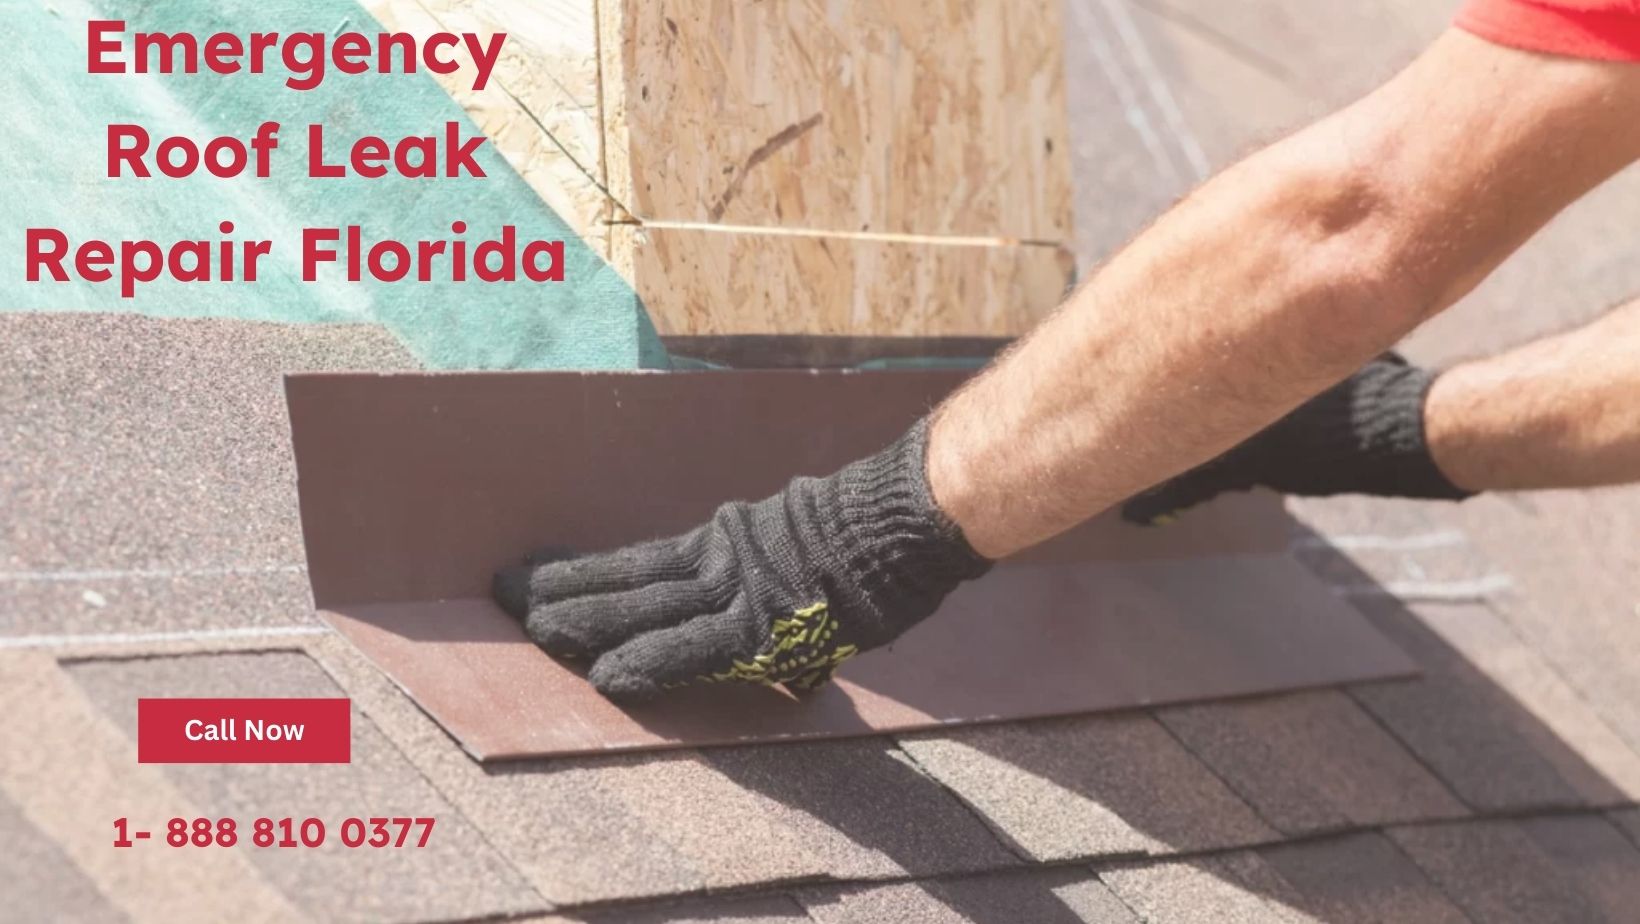
Florida’s unpredictable weather can cause significant damage to your roof. This damage can lead to costly repairs and potential interior water damage. If you’ve discovered a pesky leak, don’t panic! This comprehensive guide will walk you through the process of Emergency Roof Leak Repair Florida. It will help you identify the source of the leak, apply a temporary patch, and replace damaged shingles. By following these steps, you can address the leak and protect your home from further damage. Remember, safety comes first, so make sure to take the necessary precautions before climbing onto your roof.
Assess The Damage: Inspecting Your Roof For Leaks
Florida’s unpredictable weather patterns can wreak havoc on your roof. They can lead to pesky leaks that cause extensive damage to your home’s interior. If you suspect a leak, it’s crucial to act to prevent further water infiltration and costly repairs. The first step in addressing a roof leak is to conduct a thorough inspection to identify the source of the problem.
Begin your inspection by venturing into your attic or the highest point of your home’s interior. Keep an eye out for water stains, discoloration, or any signs of moisture. These telltale marks can provide valuable clues about the Emergency Roof Leak Repair Florida. Next, head outside and examine the exterior of your roof. Look for any missing, damaged, or loose shingles that might be the culprits allowing water to seep in. Don’t overlook the flashing around chimneys, vents, and skylights, as cracks or gaps in these areas can also be entry points for water.
Finally, check your gutters and downspouts to ensure they are clear and free of debris. Clogged gutters can cause water to back up and seep into your roof, exacerbating the leak. Conduct a thorough inspection. You’ll be well-equipped to pinpoint the leak’s source. Then, take the necessary steps to repair it . Remember, prompt action is key to preventing further damage and preserving the integrity of your roof.
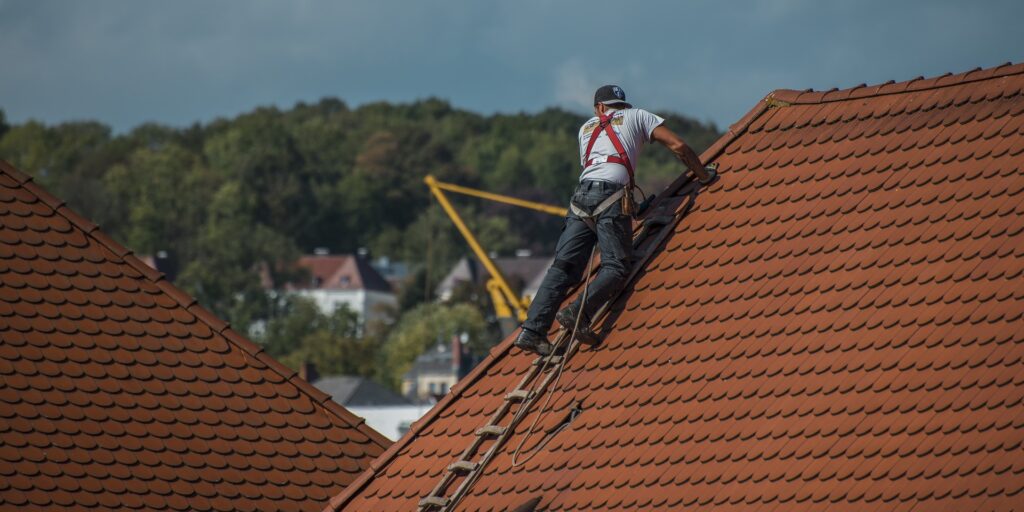
Safety First: Preparing Yourself For Roof Repairs
Before beginning any roof repair work, it is crucial to rank your safety. Here are some essential safety precautions to take:
- Proper Safety Gear: Ensure you have the appropriate safety gear to protect yourself while working. This includes sturdy work gloves, safety glasses, and a hard hat to safeguard your hands, eyes, and head from potential hazards. Proper footwear is essential. Non-slip, closed-toe shoes provide stability and prevent accidents.
- Choose the Right Time: Weather conditions play a significant role in roof repair safety. Avoid working on the roof during inclement weather such as rain, snow, or strong winds. These conditions can make the roof slippery and increase the risk of falls. Opt for a dry, clear day with moderate temperatures to ensure optimal safety conditions.
- Safe Ladder Use: Ladders are often necessary for roof repairs, but using them is crucial. Place the ladder on a stable, level surface, and ensure it extends at least three feet above the roofline. Never stand on the top three rungs of the ladder, and have someone hold the base for added stability.
- Work with a Helper: Working alone on a roof can be dangerous. Having a helper can provide help, support, and an extra pair of eyes to identify potential hazards. They can also hold the ladder, hand you tools, and provide help in case of an emergency.
- Power Line Awareness: Be cautious of power lines near your roof Maintain a safe distance from them, and never touch or come into contact with any electrical wires. If you notice any damaged or downed power lines, immediately Contact Your Local Utility Company.
By following these safety guidelines, you can cut the risks associated with roof repair work. This will ensure a safe and successful repair process.
Gather The Right Materials: Essential Tools and Supplies
Before you begin any roof repair work, you must gather the right tools and supplies to make sure the job is done and . Here’s a comprehensive list of the items you’ll need:
- Safety gear:-Safety glasses or goggles to protect your eyes from debris and dust
- A hard hat to protect your head from falling objects.
- Gloves to shield your hands from sharp materials and chemicals.
- Sturdy, slip-resistant shoes or boots to provide good traction on the roof.
- Roofing tools: A pry bar to remove old shingles and nails.
- A hammer to drive nails and pry up shingles.
- A utility knife to cut shingles and other materials.
- A tape measure to measure the affected area and cut materials to size.
- A chalk line to mark straight lines for cutting and nailing
- A roofing ladder designed for roof work, providing stability and safety
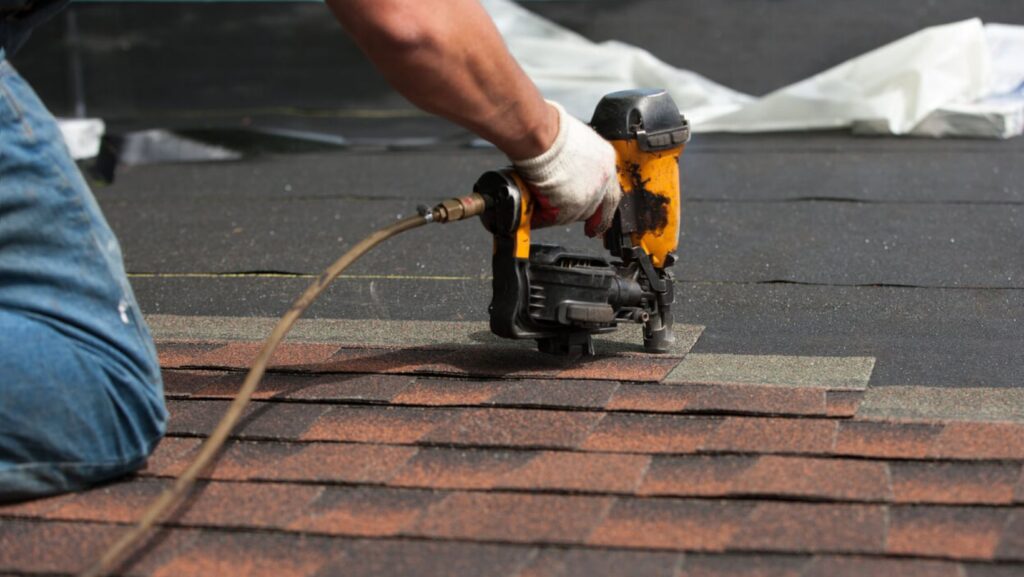
- A nail gun or hammer and nails for securing new shingles.
- Materials: New shingles that match the existing ones in color, style, and texture.
- Underlayment material to provide an extra layer of protection beneath the shingles.
- Roofing nails or staples designed for roofing applications.
- Sealant or caulk to seal any gaps or cracks around chimneys, vents, and skylights
- A roofing cement to adhere new shingles to the roof deck and seal any exposed nails.
- More items: A tarp or plastic sheeting to protect your belongings and the work area from rain or debris. A ladder stabilizer enhances ladder stability. This is especially useful when working on uneven surfaces.
- A first aid kit to address any minor injuries that may occur during the repair process.
Remember, it’s crucial to rank safety throughout the Roof Repair Process. If you’re uncomfortable working on the roof or lack the necessary skills and knowledge, consider hiring a professional roofing contractor. This will ensure the job is done right.
Step-by-Step Guide: Repairing Your Leaky Roof
Once you’ve identified the source of the leak, you can begin the repair process. Start by cleaning the affected area with a broom and dustpan to remove any dirt or debris. Next, apply a temporary patch to the leak using a sealant or waterproof tape. This will help to prevent further water damage while you make the permanent repair.
To make the permanent repair, you will need to replace the damaged shingles. Begin by removing the old shingles around the leak using a pry bar or shingle remover. Be careful not to damage the underlying roof deck. After removing the old shingles, overlap and nail the new shingles in place.
After the new shingles are installed, apply a sealant around the edges to prevent water from seeping in. You may also want to install a ridge cap or flashing to further protect the roof from leaks.
Finally, inspect the rest of the roof for any other potential leaks and make any necessary repairs. By following these steps, you can repair a leaky roof and prevent further water damage to your home.
Tips for preventing future leaks
To prevent future roof leaks, there are a few things you can do:
- inspect your roof for any signs of damage, such as missing or damaged shingles, cracks in the flashing, or water stains in the attic.
- Keep your gutters and downspouts clean and free of debris to ensure that water can drain away from your roof .
- Trim any tree branches that are hanging over your roof, as they can cause damage to the shingles.
- Apply a sealant to your roof every few years to help protect it from the elements.
By following these tips, you can help extend the life of your roof and prevent costly repairs.
Post-repair Maintenance: Preventing Future Leaks
To Safeguard Your Home from the elements and guarantee its longevity, it’s essential to rank post-repair maintenance after fixing a leaky roof. By taking proactive measures, you can prevent future leaks and maintain your roof’s integrity.
Regular inspections are paramount. Schedule thorough roof inspections twice a year. Check for signs of wear and tear. Look for missing or damaged shingles, cracks in the flashing, and areas where water might get in. Addressing these issues prevents minor problems from escalating into major headaches. It nips potential leaks in the bud.
Clogged gutters and downspouts are culprits for water overflow that can seep into your roof, leading to leaks. unclog these drainage channels to make sure rainwater is diverted away from your roof. Additionally, trim tree branches near your roof to prevent them from rubbing against and damaging the shingles, increasing their vulnerability to leaks.
Consider applying a sealant or coating to your roof as an extra layer of protection against the elements. Choose a sealant or coating suited to your roof type and climate for optimal effectiveness, don’t overlook the importance of proper ventilation. Moisture buildup in your attic can cause leaks. Make sure adequate ventilation by installing vents or a ventilation system to promote proper airflow.
By following these preventive measures, you reduce the risk of future leaks and extend the lifespan of your roof. Remember, a well-maintained roof protects your home from the elements. It also contributes to its value and longevity. This ensures peace of mind and a secure haven for years to come.